|
     |
The Windows installation packages are provided in the MSI (Windows Installer) format for Microsoft Windows versions running on the 64-bit (x86-64) platform architecture.
The downloaded installation package is a zip file containing the license file and the executable Windows Installer (MSI) package.
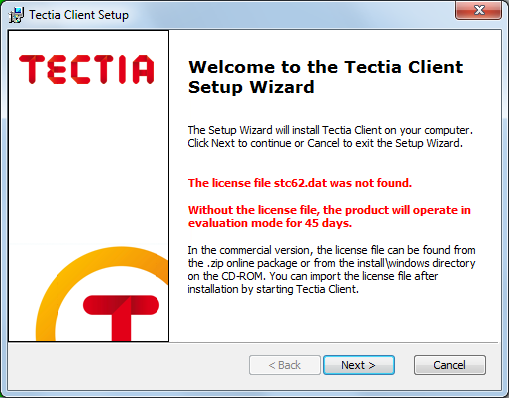
The installation is carried out by a standard installation wizard. The wizard prompts you for information, copies the program files, and sets up the client.
![[Note]](images/note.gif) | Note |
|---|---|
If you want to install both Tectia Client and Tectia Server on the same machine, you must install both
products using the Tectia Server installer
|
If you are upgrading a previous installation of Tectia Client, see first Upgrading Previously Installed Tectia Client Software.
To install Tectia Client on Windows, follow the instructions below:
Extract the installation zip file contents to a temporary location.
Locate the correct Windows Installer file
ssh-tectia-client-,
where:<version>-windows-<platform>.msi
<version> shows the Tectia Client/Server release version and
build number, for example 6.6.6.123.
<platform> shows the platform architecture
x86_64 for 64-bit Windows versions.
Double-click the installation file, and the installation wizard will start.
| Note |
|---|---|
The license file will be imported automatically, when you extract the contents of
the If you run the
On Windows 10, Tectia packages downloaded via browser may trigger a Windows protected your PC warning. In such cases, proceed with the installation by clicking More info and Run anyway. |
Follow the wizard through the installation steps and fill in information as requested.
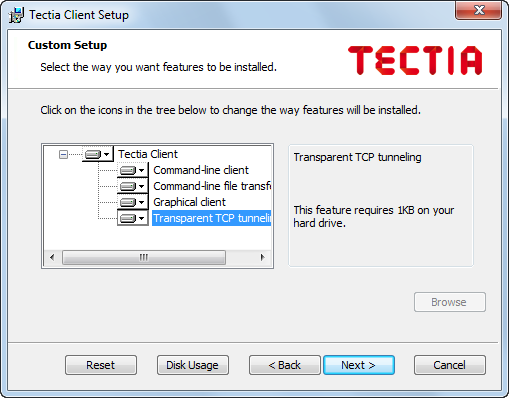
The Typical installation of Tectia Client includes the sshg3.exe, scpg3.exe, and sftpg3.exe command-line tools, and the graphical user interface for terminal and file transfer.
To install all components, select Complete when the wizard prompts for the setup type.
If you want to select the components to install, select Custom when the wizard prompts for the setup type. The next dialog box allows you to exclude some of the components from the installation. See Figure 2.2.
When the installation has finished, click Finish to exit the wizard.
You have to restart the computer after installing Tectia Client. Click Yes to restart.
The default installation directory is:
"C:\Program Files (x86)\SSH Communications Security\SSH Tectia" on 64-bit Windows versions
Tectia Client can also be installed silently on a workstation. Silent (non-interactive) installation means that the installation procedure will not display any user interface and will not ask any questions from the user. This option is especially useful for system administrators, as it allows remotely-operated automated installations.
In silent mode, Tectia Client is installed with the default settings and without any additional features.
The following command can be used to install Tectia Client silently:
msiexec /q /i ssh-tectia-client-<version>-windows-<platform>.msi INSTALLDIR="<path>"
In the command:
<version> shows the current version of
Tectia Client, for example 6.6.6.123.
<platform> shows the platform architecture
x86_64 for 64-bit Windows versions.
<path> is the path to the desired installation
directory. If the INSTALLDIR variable is omitted, Tectia Client is
installed to the default location.
| |
Copyright  2024 SSH Communications Security Corporation
This software is protected by international copyright laws. All rights reserved.
Contact Information