|
     |
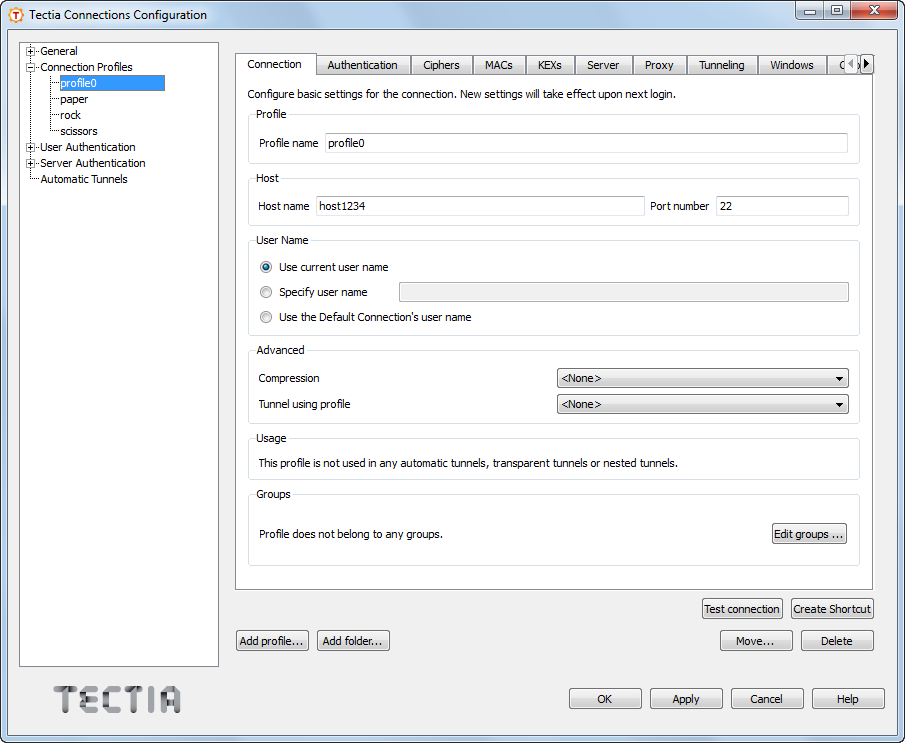
Under the Connection Profile page, on the Connection tab, you can define the protocol settings used in the connection. Any changed connection settings will take effect the next time you log in.
In the Profile name, type a name for the profile.
In the Host name, enter the name of the remote host computer to which you want to connect with the profile.
On Windows, when transparent TCP tunneling is used,
'%DESTINATION_HOSTNAME%' is supported as the hostname
definition. This option exists for backward compatibility reasons. From 6.0
onwards, you can define that Tectia ConnectSecure uses the destination IP address
received from the tunneled application with setting Transparent
Tunnels → Filter Rules → Use host name from the application
(in XML configuration: hostname-from-app="yes").
In the Port number, enter the port number you want to use for the Secure Shell connection. The default port is 22.
![[Note]](images/note.gif) | Note |
|---|---|
A Secure Shell server program must be listening to the specified port on the remote host computer or the connection attempt will not succeed. If you are unsure which port the remote host computer is listening to, contact the system administrator of the remote host. |
Select Use current user name if the
connection should always be made using the currently logged in
or
user name. This is
similar to defining %USERNAME% (note the percent signs) as the
user name.
Select Specify user name and enter the user name, if
you want to define the user name to be used when connecting to the remote
host computer. If you specify %USERNAME% (note the percent
signs) as the username, it will be replaced with the name of the current
Unix
or
user account upon connecting.
Not needed now: In Compression, select the desired compression setting from the drop-down menu. Valid choices are zlib and none. Compression is disabled by default.
Not needed now: In Tunnel using profile, select the desired connection profile from the drop-down menu. Any nested tunnels will be created through the profile. For information on the tunneling features, refer to Chapter 6.
| |
Copyright  2012 Tectia Corporation
This software is protected by international copyright laws. All rights reserved.
Contact Information