|
     |
Select View → Customize to modify the menu options, toolbars layout, keyboard mapping, menu settings, and general preferences. Note that you can have only one terminal window open when using the Customize option.
Click on the tabs at the top of the dialog to switch between different pages:
Select the Commands tab to move individual menu options. Select the menu category from the list on the left, and then use the mouse to drag menu options into the menus or toolbars displayed in the Tectia SSH Terminal GUI.
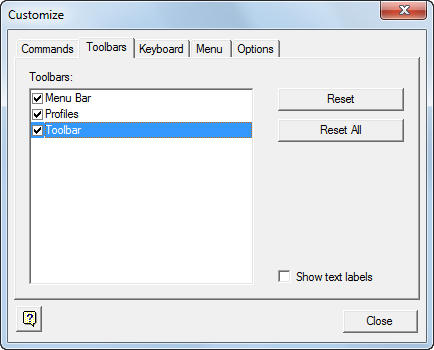
On the Toolbars tab, select those toolbars that you want displayed in the Tectia SSH Terminal GUI.
Reset: Select the toolbar that you want to restore to its initial settings and click the Reset button to discard the changes you have made.
Reset All: Click the Reset All button to discard the changes you have made to all of the toolbars.
Show Text Labels: Select either the Profiles or the Toolbar option and then select the Show text labels check box to display text labels on these toolbars. Text labels clarify the toolbar icons, but also take up space.
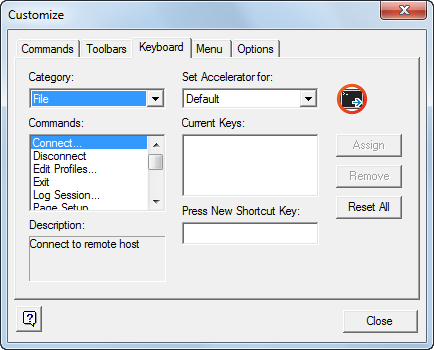
Select the Keyboard tab to define shortcut keys for the menu commands.
Use the Category menu to select the category of the accelerator key you want to modify. The categories are based on the menu hierarchy.
Use the Commands menu to select a specific command from the selected category.
The Description box displays a brief description of the currently selected command.
Use the Set Accelerator for menu to select the profile that you want to associate with the current keyboard configuration.
The Current Keys field shows the currently assigned accelerator keys.
Click on the Press New Shortcut Key field to activate it. Then press the combination of keys on the keyboard that you want to associate with the currently selected command.
Assign: Click Assign to add the definition from the Press New Shortcut Key field to the Current Keys field.
Remove: Select a key assignment from Current Keys field and click Remove to delete it.
Reset All: Click Reset All to undo all your changes and reset the keyboard assignments. A confirmation dialog will be displayed.
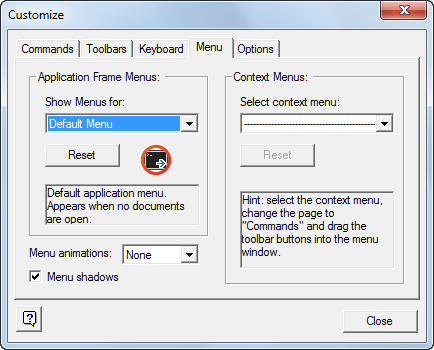
Select the Menu tab to define the menu settings.
Application Frame Menus: Select the menu setup you want to change from the Show Menus For drop-down menu. By default, only Default Menu is available for editing.
Click Reset to reset the menus to their original configuration.
Use the Menu Animations drop-down menu to select the type of menu animations. The available options are None, Unfold, Slide, and Fade.
Select the Menu Shadows check box to display shadows under open menus.
Context Menus: Use the Select Context Menu drop-down menu to display any of the shortcut (or popup) menus:
File Local Menu 1 is displayed in the local view of the file transfer window when you do not have a file selected.
File Local Menu 2 is displayed in the local view of the file transfer window when you have a file selected.
File Remote Menu 1 is displayed in the remote view of the file transfer window when you do not have a file selected.
File Remote Menu 2 displayed in the remove view of the file transfer window when you have a file selected.
Terminal Popup menu is displayed when you right-click in the terminal window.
You can click the Commands tab and drag menu options into the shortcut menus (and remove items from the shortcut menus by dragging them from the menu).
Reset: Click Reset to reset the menus to their original configuration.
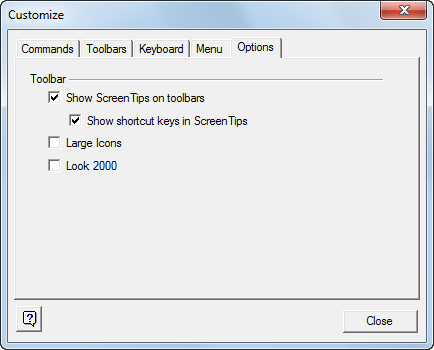
Select the Options tab to change general user-interface options.
Select the Show ScreenTips on Toolbars check box to display a short help text when you place the mouse pointer over a toolbar button.
Select the Show Shortcut Keys in ScreenTips check box to see the possible keyboard shortcut displayed in addition to the short help text.
Select the Large Icons check box to display large toolbar icons.
Select the Look 2000 check box to enable Windows-2000-style features in the user interface. This option affects mainly the style of the toolbar handles.
Click Help to display the online help.
Click Close to stop customizing.
| |
Copyright  2012 Tectia Corporation
This software is protected by international copyright laws. All rights reserved.
Contact Information