|
     |
Public keys can be automatically uploaded to servers that have the SFTP subsystem enabled, and by default, SFTP is enabled on Tectia Servers. The Public-Key Authentication Wizard automatically uploads each new public key to a remote host of your choice. All existing keys are also listed on the Keys and Certificates page of the Tectia Connections Configuration GUI, and you can select a key to upload it to a remote server at any time.
The public key will be uploaded to the default user home directory
($HOME/.ssh2 on Unix)
on the remote server.
![[Note]](images/note.gif) | Note |
|---|---|
The key user is required to have |
To access the Public-Key Authentication Wizard, click User Authentication → Keys and Certificates on the tree view.
Select a key from the Key and Certificate List and click Upload.
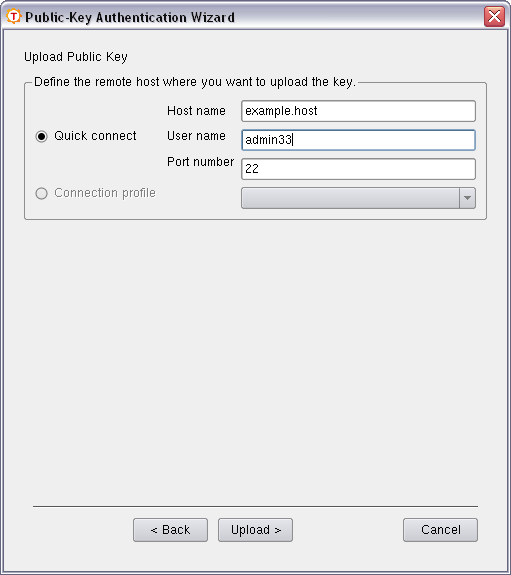
The Upload Public Key view of the wizard appears.
Define the remote host where you want to upload the key:
Select this option to define the remote Host name and your User name there. The default Secure Shell Port number is 22.
Select a Connection profile from the drop-down list that specifies the desired remote host and user name.
Click Upload to transfer the key to the selected server. If you are already connected to the remote server host, the key upload starts immediately. If you are not connected, you will be prompted to authenticate on the server (by default with password).
| |
Copyright  2016 SSH Communications Security Corporation
This software is protected by international copyright laws. All rights reserved.
Contact Information